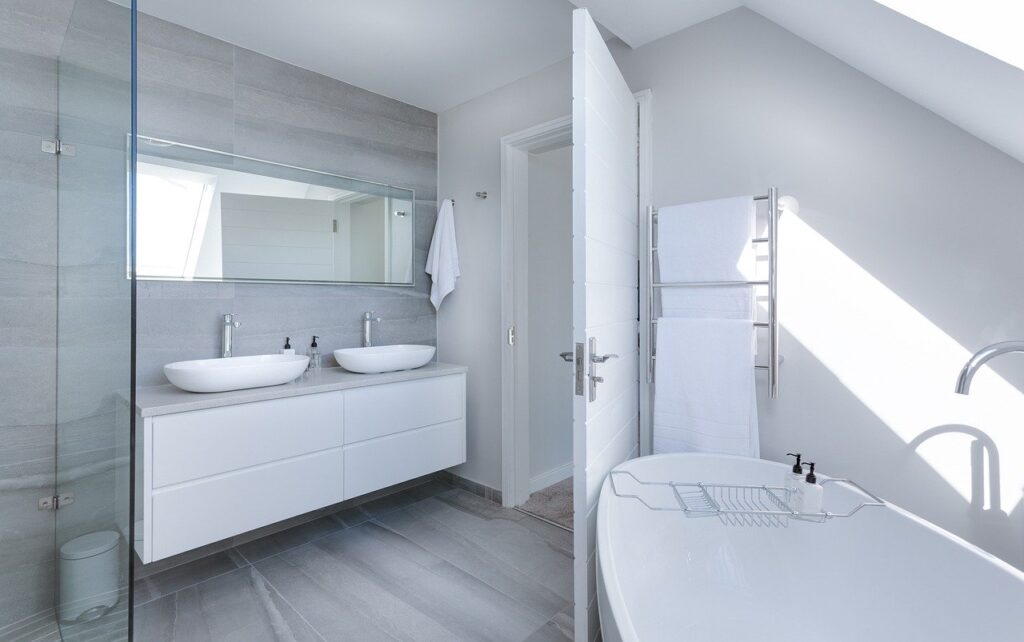
After a recent bathroom renovation everything was perfect, the tiles were cleaned, rubbish and debris cleared, leaving me with a pristine modern bathroom. But after a few days, I noticed a small pool of water coming from underneath the new sink (thank goodness it wasn't a blocked toilet!). After a quick inspection the culprit was exposed, a slow, but steady drip of water was coming from one of the flexi hoses connecting the water supply to the new mixer tap.
Sooner or later, your flexible hose will need replacement. This may be because of issues, or it's just worn out. Fortunately, replacing a flexible hose doesn't have to rob you of your money. If you know the right way of doing things, you can just invest effort and minimal costs. In this post, I’m going to give you the low down on how to replace this little piece of hosing!
First and foremost, you should prepare your working area for the replacement process. Although replacing a flexible hose is not an extensive job, you should still ensure that the environment, a.k.a. the sink, is ready for the tasks to come.
To do this, you should make sure that the place under your sink is clean. Dry the pipes with a cloth and ensure that no algae or moss are surrounding them. In this way, the process will be easier and more hygienic.
In addition to the working are, you should also prepare all the materials beforehand, you can get these pieces from your local DIY shop. These include:
Make sure that your new flexible hose has the same measurement as the old one's. If not, the process won't be possible due to fitting issues.

Once the working area is ready, proceed to turn off the water supply valve. This is necessary as not doing so will lead to the water going all over the place later on.
If you're not familiar with the valve's location, simply trace the pipes that connect the tap to the supply line. Usually, that is where you'll find it. For households that have both cold and hot water, there will be two valves for that. Turn both off to prevent water-related issues.
In terms of turning a valve off, you just need to turn them to the right. Follow the clockwise rotation.
Turning off the water supply doesn't get rid of those that are stored in your tap. Removing them is also required to avoid high water pressure after the replacement process. In addition, it will prevent leaks when the hose is removed.
To remove the said excess water, turn on all of the tap on the certain sink. These apply to taps for hot water, cold water, and regular ones. Turn them off once nothing is coming out.
In some cases wherein the taps' water supply is still continuous, you have to look into the valve's issue first before proceeding to hose replacement. You may need a plumber for this concern.
If the valves and taps are all working properly, you can move on to the fourth step. Here, you have to check the condition of your current flexible hose. This will give you an overview of its existing issues, and thus, you'll know if you can proceed to replacement.
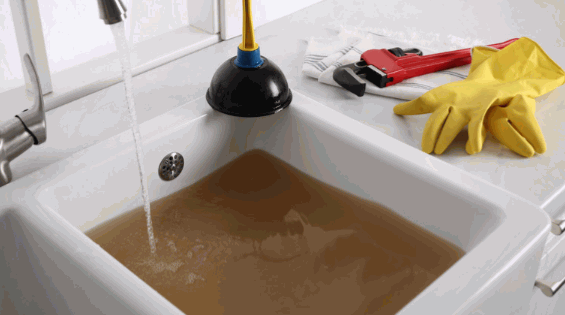
For minor issues like leaks and rust, you can go on to the next tasks. However, if there are hazards involved, you should call a professional. These can involve chemical-related damages and likes. For leaks, make sure to lay down a towel, or any absorbent cloth, before moving on.
In this step, you need to remove and detach your current flexible hose. If it's still in a somewhat good condition, you can simply turn the hose around. This is the same thing as removing a bottle's cap. On the other hand, if it's difficult to detach the hose, use an adjustable wrench. The tool will loosen the hose and will make it easier for you to remove it.
Encountering minimal drips despite the shut-off valve is normal.
For very old hoses, their parts can get loose over time. Thus, when you have removed your flexible hose, check both the valve and sink line to see if it left some parts like the rubber gasket. If so, you need to remove it with the use of pliers. This will ensure that the new hose can fit just right with your pipes, difference in pipes may cause an issue.
Note that if there is any part left on the sink line, you need to take extra care in removing it. In this way, you won't damage your threads.
After removing the old hose, you will be left with threads. You have to dry it and wrap it with sealing tape. This will make it more durable. In addition, it will ensure that the threads and the new hose can fit in better.
In certain thread types and hoses, sealing tape is not necessary. Usually, this applies to flexible hoses that come with a rubber gasket. Nevertheless, make sure to ask the store where you bought the hose about this topic.
For this next task, you can finally attach the new hose to your threads. Just connect the hose in the same way as the old one. To be specific, you have to connect both the tap end and the hose end.
You need to tighten the ends, either by hand or through the use of a wrench, to make sure that they will stay put. Again, you need to follow the clockwise rotation.
Pay attention to how much you tighten the hose. Overdoing it can cause damage to the threads, and thus, a faulty performance.
After replacement, you can now check your hose's performance. To do so, you can simply turn the valve and the tap on. Regular water flow can take minutes because of the valve. Also, you should check out if the hose you attached leaks while the water is on. Take note of other related issues as well.
If there are no issues with the threads, the hose, or the water supply, you're all done with the replacement process.
The tasks above are the simplest ones to do when it comes to how to replace flexible hose under the sink. As long as you follow the steps, you will end up with a new and fully functional flexible hose in no time. To ensure that the results will be of high quality, you should pay attention to how you will perform the tasks.
If the problem persists you might want to swallow your pride and seek the assistance from a locally situated and qualified plumber or plumbers, that are qualified as it maybe something else entirely!
Now that you have sorted your bathroom problem, head on over to our fine blog section. We have articles that cover a range of topics including bedroom renovations and creating your own DIY makeup vanity unit!

61a, Walton St, Walton On The Hill, Tadworth,
Surrey, KT20 7RZ